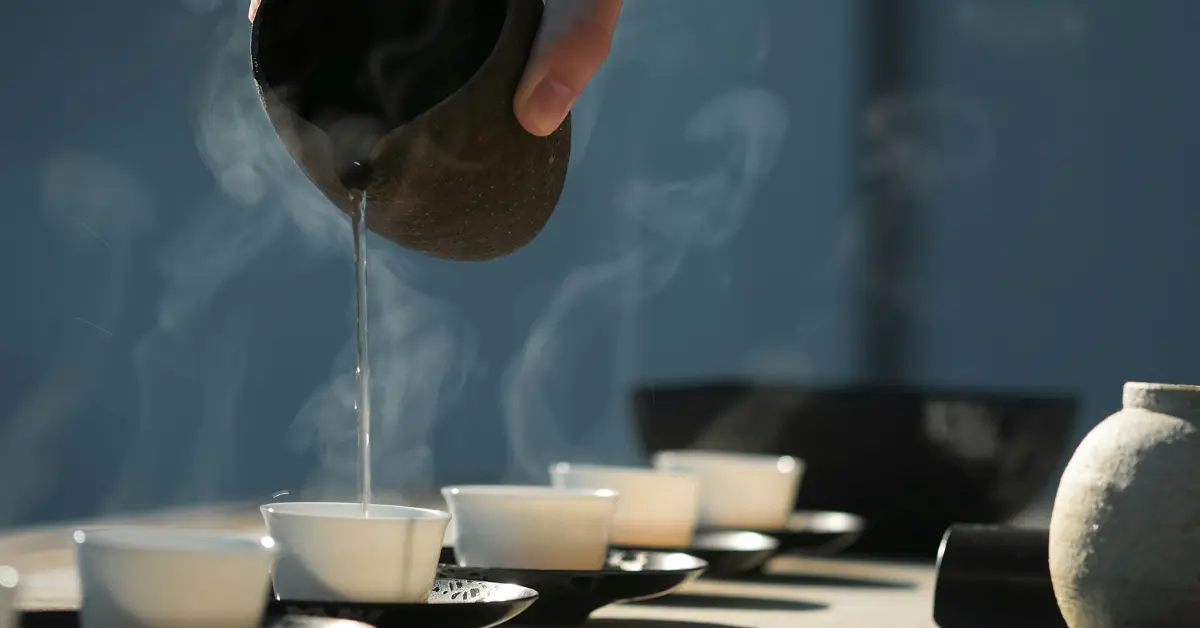
Have you ever wondered why your homemade coffee sometimes gives you the best flavourful coffee and sometimes it barely shows flavour? The secret lies in the coffee-to-water ratio. It is important if you follow the pour-over method. The pour over coffee ratio is the secret reason why your coffee doesn’t have a consistent flavour.
Well, let’s think it like this. Too many leaves brew, and too few=weak and dull. Similarly, the ratio controls the amount of flavour and caffeine that will be extracted from the grounds.
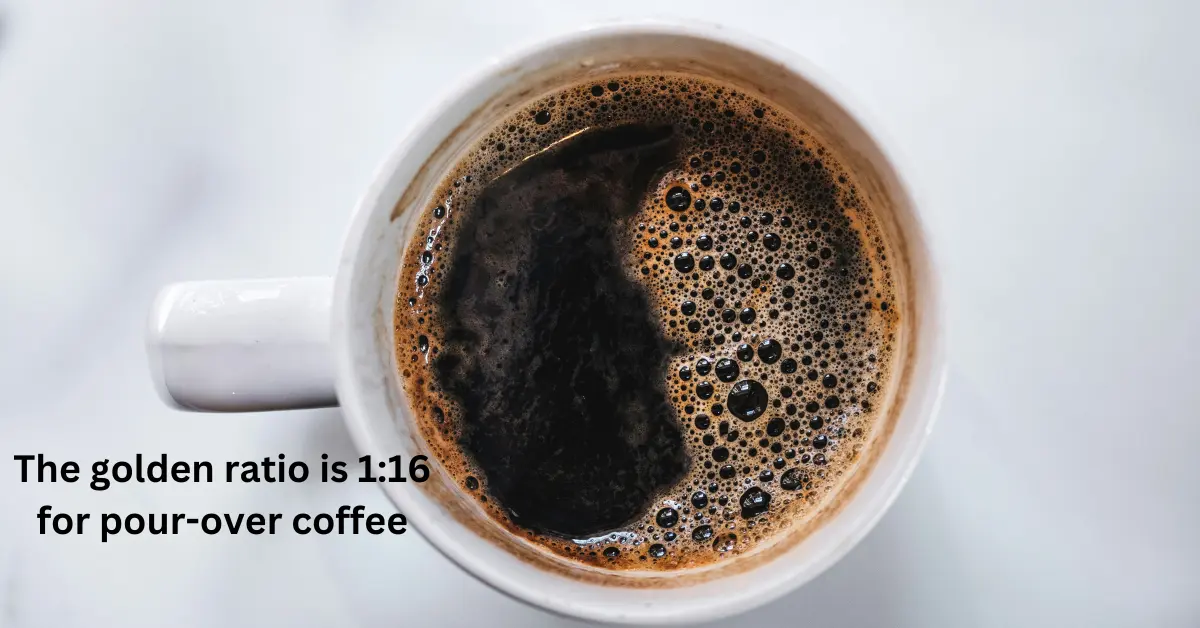
The reason for your pour-over coffee to be a blast every time is the ratio of water to coffee. The golden ratio is 1:16. This golden number is a starting point for pour-over coffee, it means that you can use roughly 22 grams of coffee for a 250ml cup of coffee. However, do not be fooled by the golden word, it’s just the basic start. It can vary depending on different scenarios.
How Ratio Influences Your Coffee
Strength & Extraction: A higher ratio generally means more coffee which gears up the intensity and delivers a bold brew. A lower ratio indicates less coffee and more water, giving it a delicate flavour and nuanced aromas.
Sweetness & strength: a higher ratio means too much coffee which throws the flavour balance off. It leads to a harsh bitter note that makes everything else less visible. On the other hand, a weak brew lacks the richness that makes the coffee special.
Finding your Sweet spot: The golden ratio is for beginners to not ruin their coffee and have a bad first-time experience. The best ratio depends on your taste buds. Experiment with your taste buds and play with the coffee ratio to find the optimal ratio for your taste buds.
We have a special recommendation for you. Most baristas are baristas because of this. They keep a coffee brewing journal. You can keep track of your experiments, note the ratio, origin of the coffee, roast level etc. You can also identify your optimal cup of coffee.
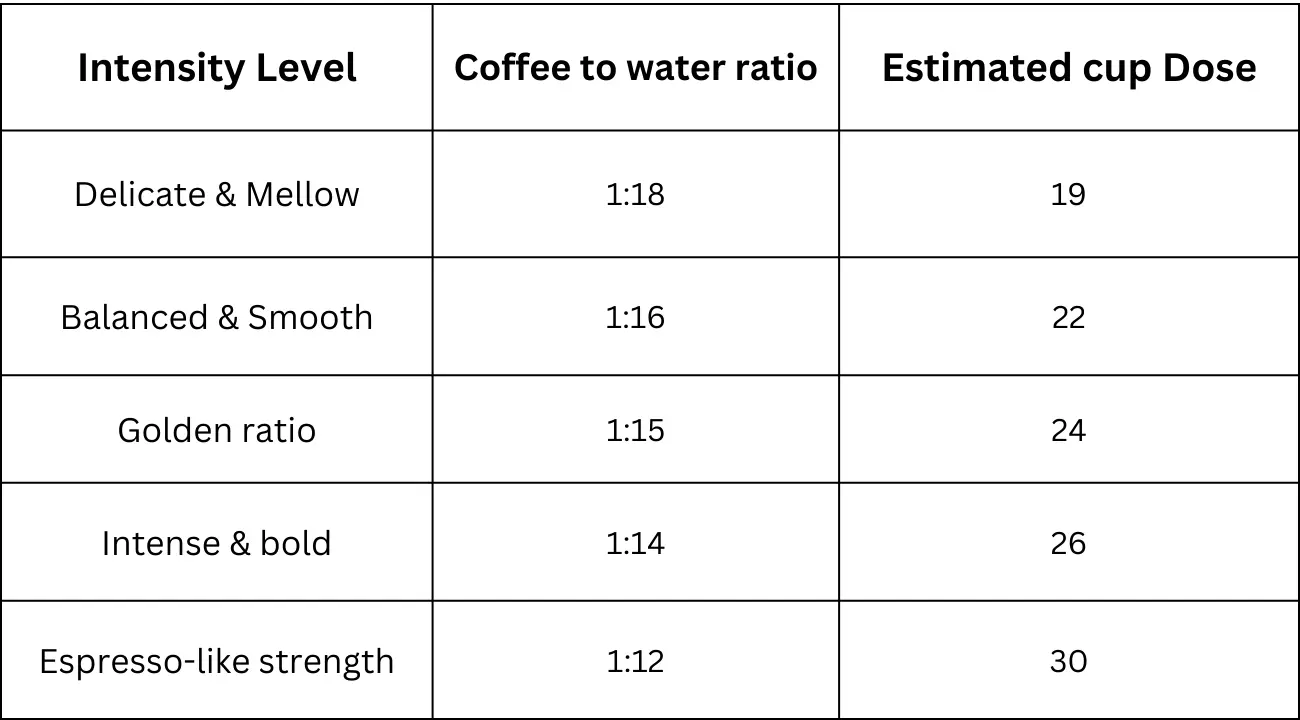
Brewing Intensity Spectrum
We have a sample chart for you that will help you in the initial phase of brewing coffee. You can experiment with these ratios and find the optimal one for yourself.
Coffee to Water Ratio for Pour-Over
4 Tools & Methods to Measure Pour Over Coffee Ratios
As we are talking about the ratios I know it can be hard to pull out the perfect ratio. You may face issues with measuring the water, measuring the coffee grounds and many more. Here we have the tools and methods that will help you to ensure the exact coffee-to-water ratio you want.
- Digital Scale

Advantages: the accuracy level is insane, it gives the accuracy down to tenths of a gram. It is perfect to experiment with different ratios and optimize your perfect cup. It’s also easy to measure both coffee and water. This scale is a one-for-all type of ratio measurement.
Disadvantages: Requires an initial investment which may be tough for many people. And it is a little heavy, so it’s not optimal to take on vacation.
- Tablespoons or Spoons:
Advantages: simple, always available, and familiar to most people. It is widely used around the world in almost every recipe.
Disadvantages: Accuracy can vary greatly on the size of the spoon, bean density and packing technique. It is not ideal for fine adjustments or detailed experimentation. If you are going to use it at home as a normal human being then this is good for you. But if you want to be a barista like me, then digital scale is better.
- Coffee Scoops
Advantages: This is specially designed for coffee, often calibrated for standard ratios. It is lightweight and perfect to take on vacations or on-the-go brewing.
Disadvantages: Accuracy can still vary depending on the size of the scoop and bean density. However, it is still better than normal tablespoons.
- Graduated Cylinders
Advantages: It ensures maximum precision for both coffee and water measurements. It is visually clear and easy to track volume changes. It is used in big coffee chains, scientific labs, etc. It is not for your home usage, go for the digital scale or coffee scoops.
Disadvantages: Bulky and not so compatible for regular home users.
Bonus Tip: For an extra dose of accuracy, invest in a scale with a built-in timer. This gadget will help you achieve the perfect coffee every time.
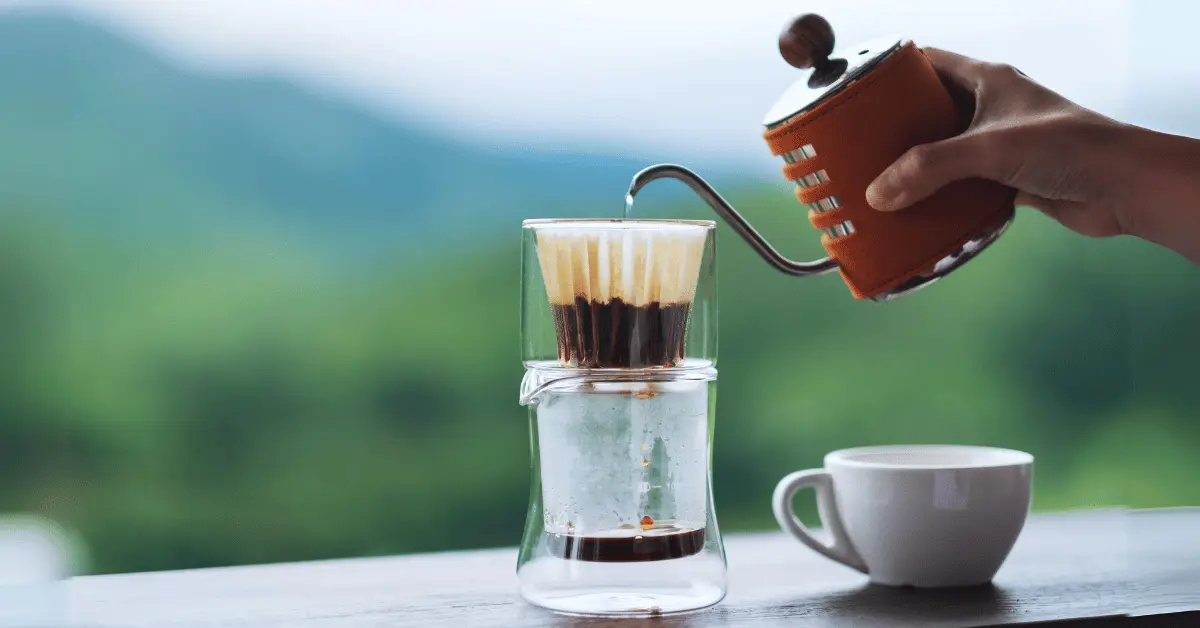
Method to Brew Pour Over Coffee with the Perfect Ratio
Now, that you have learned enough about the pour-over coffee ratio, I think you should also know how to brew with it. I have included one recipe for the perfect pour-over coffee with the perfect ratio. You can start with this one to understand the basics and later train your mind to your preference.
Ingredients & Pour-over Measurements
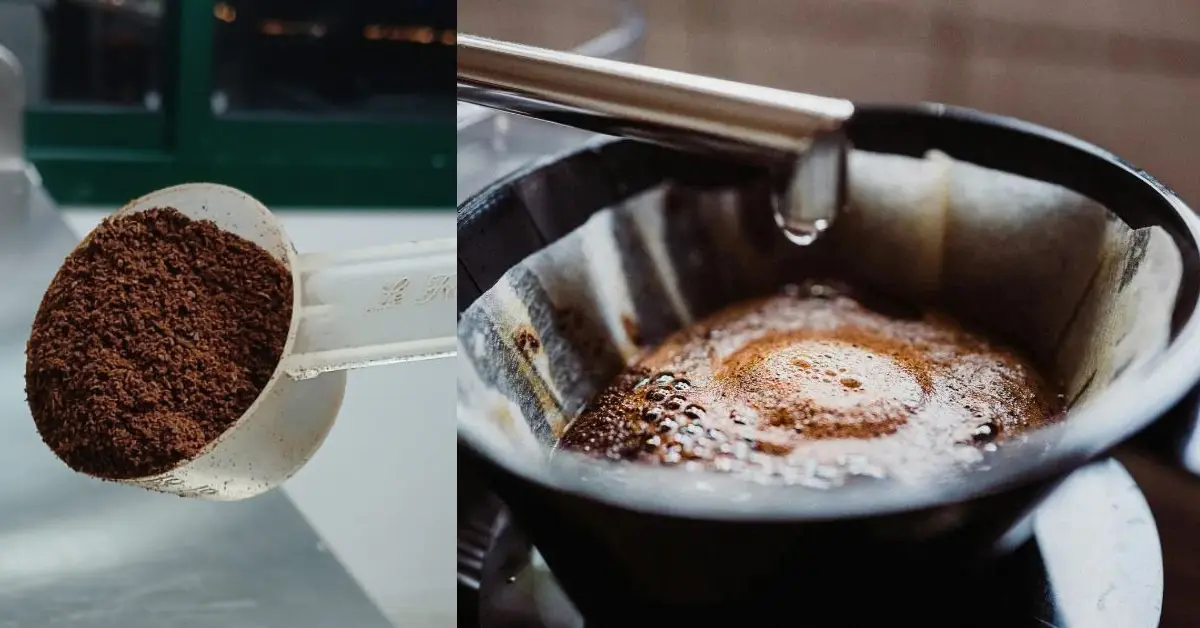
- Freshly roasted coffee beans (22 grams for a 12 oz cup)
- Grinder (ideally burr grinder)
- Pour-over brewer (V60, Kalita Wave, etc.)
- Filters (paper or reusable metal)
- Hot water (around 90-96°C, depending on roast level)
- Kettle with gooseneck spout (optional, but highly recommended)
- Timer
- Scale (optional, but ideal for precision)
Steps to Brew Magic
- Grind: Aim for a medium-fine grind similar to table salt. Adjust slightly coarser for lighter roasts and finer for dark roasts.
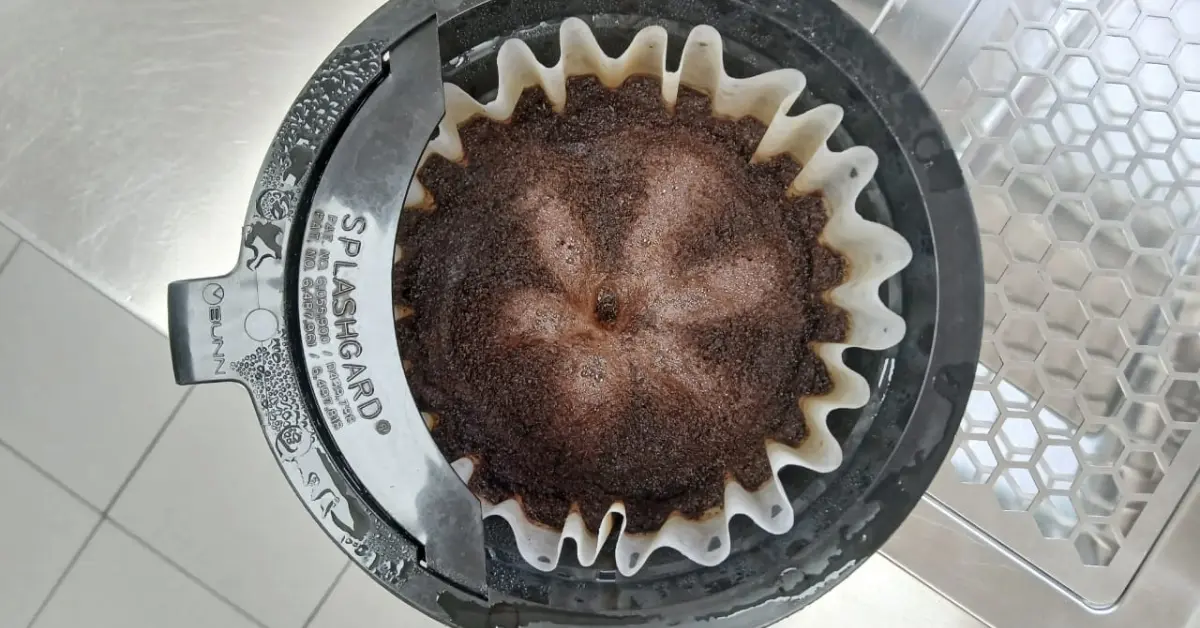
- Filter Frenzy: Place a filter in your brewed and rinse it with hot water. It will help you preheat the brewer and remove the papery taste. Then discard the rinse water.
- Coffee Cradle: Gently add your measured coffee grounds to the filter. Tap the brewer gently to even out the bed.
- Blooming Beauty: Pour a small amount of hot water (30-40mL) just before boiling, saturating all the grounds. Let it bloom for 30 seconds, allowing CO2 to escape for a smoother brew.
- The Pouring Parade: Begin your pour in a circular motion, starting in the centre and gently spiraling outwards. Aim for a steady, thin stream to maintain even saturation.
- Hitting the Sweet Spot: Maintain a water level 1-2 cm above the coffee bed throughout the pour. Aim to finish pouring around 2-3 minutes after the bloom starts.
- Slow and Steady Wins the Race: Pour slowly and deliberately, focusing on maintaining constant water flow and avoiding channelling (water bypassing the grounds).
- The Grand Finale: Let the coffee drain completely through the filter, savoring the suspension.
- The aroma of Paradise: Breath in the intoxicating aroma, a warm-up to the symphony of flavors to come.
Some Extra Tips for the Best Experience
- Preheating: Before you start, warm your brewer with hot water. A warm brewer gives a better brew, remember to discard the water used to warm up the brewer.
- Grind Size: Aim finer for darker roasts & coarser for lighter ones.
- Pouring Patterns: This may sound crazy, but it affects. While the circular motion is a classic try other patterns too to see how it affects your brew.
- Water temperature tweaks: Lower temperature highlights delicate notes in light roasts, while higher temperature offers bolder flavours in dark roasts.
Conclusion
Pour-over coffee is a dance of ratios, measurements and techniques. It is all about numbers. You just have to remember three things for the best pour-over coffee. Precision is the key, experimentation is the king and finally embracing the journey.
I appreciate your enthusiasm for reading this long, only 5% have reached this far. You are one of the coffee enthusiastic people available out there.
However, if you want to know more about coffee, or brewing guides you can visit “Coffee Blog Mart”. It is like a personal barista at home.

I am Mojoon, a certified and award-winning barista by choice, with 7 years of experience in the field. I have served and trained coffee shop baristas worldwide. I worked at Krispy Kreme for an extended period, and now I aim to help regular people brew coffee like me. I pursue this job with my passion for writing and also provide one-on-one coaching for newly minted baristas.