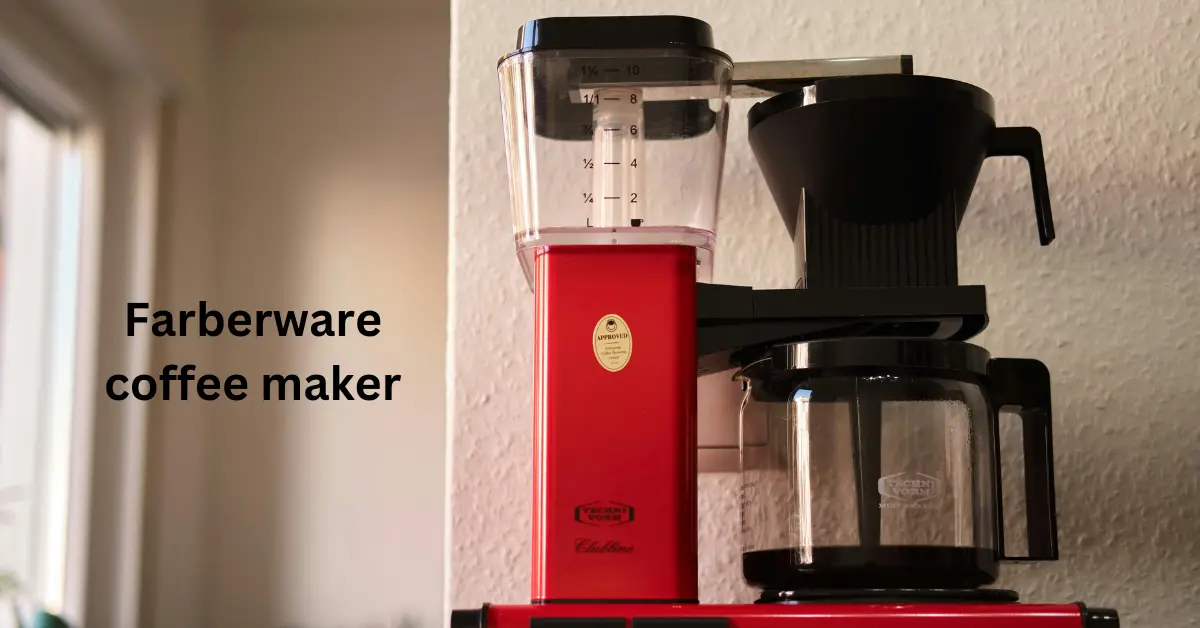
Did you know that a good cup of coffee can boost your mood and focus? With a Farberware coffee maker, you can brew a delicious cup at home anytime
Picture this: it’s a groggy morning, and all you want is a fresh cup of coffee to jumpstart your day. You’ve just unboxed your brand-new Farberware dual-brew coffee maker. You’re excited, but there’s one small obstacle – you’re not quite sure how to set it up for the first time. Don’t worry; we’ve got you covered. In this simple guide, we’ll walk you through the process, step by step. We also have a sample espresso brewing process for you to understand the usage of the Farberware coffee maker properly.
To use the Farberware coffee maker first thing you need to do is set up your coffee maker, then prepare the machine to brew a cup of espresso. To set up you will have to run two cleansing brewing cycles, brew on the coffee maker side, then set up the K-cup holder and maintain some safety measures.
Setting Up Your Farberware Coffee Maker for the First Use
Before we start the setup of the coffee maker we have to keep in mind some important things.
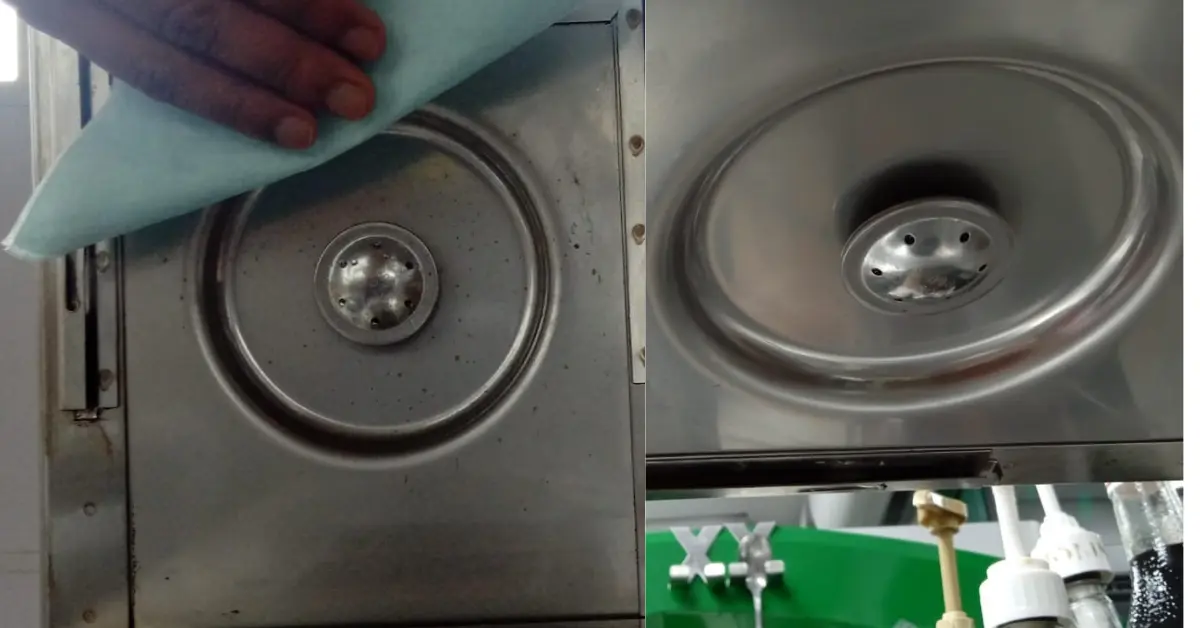
1. Washing the Coffee Maker Components
You need to make sure that all the parts of your Farberware coffee maker are clean. This includes the brew basket, the K-Cup side, and the water reservoir. A simple wash with warm soapy water and a good rinse should do the trick.
Be cautious when washing the K-cup side, it has a sharp needle that can be dangerous for you. remember, safety is the first thing to remember before doing anything.
2. The two-cycle run
Unlike most coffee makers, the Farberware coffee maker has a unique feature. It recommends running two full cycles of water through each side, without coffee or grounds.
It recommends running two full cycles so there no odour or smoke remains there. I know it feels extra step to you, but this is worth your time. It ensures a smooth coffee-making experience.
Setting up the coffee Maker Side
Now let’s get to the core of setting up your Farberware coffee maker.
Key Components
On the coffee maker side, you’ll find the brew basket and the water reservoir. The brew basket needs to be installed with a little plunger, and there’s a notch that needs to be aligned to ensure the proper closing of the lid.
Two Cleansing Brew Cycles
Most coffee makers require one water cycle, but the Farberware coffee maker asks for two water cycles. The company itself recommended it. It wants to make sure that there is no color remaining, and no coffee grounds remaining.
Brewing on the Coffee Maker Side
When you are ready to brew the coffee, fill up the coffee carafe to the desired level. Pour the water into the back of the machine. Make sure the carafe’s lid id on, because it helps with the brewing process. Remember the water gets hot, especially during the brewing process. It is important to be cautious while handling it.
The Unusual Quiet Finish
Unlike other coffee makers that might beep or signal when brewing is complete, the Farberware doesn’t make any finishing sound. Instead, you’ll notice it gets quieter and there’s no more steam. At this point, you can press the power button to turn off the warming plate.
Setting Up the K-Cup Side
Now let’s switch gears and set up the K-cup side of your coffee maker.
K-Cup Holder: When setting up the K-Cup side, you’ll come across the K-Cup holder. This part is pretty straightforward, but make sure to check for the little notch that ensures it’s centered. It should snap closed.
Water Reservoir: The water reservoir is similar to the coffee maker side. There are no size selections here; the amount of water you put in is what is brews.
Brewing on the K-Cup Side
Time to brew coffee on the K-cup side this is where you will get to know how to use the Farberware coffee maker. It is pretty much the same for all the models of the Farberware coffee makers. We used the most common one.
Brewing Process: Fill the water reservoir to your desired brew size and ensure your coffee mug is ready. Just press the capsule button. It does a freshwater rinse to get things ready.
A Word of Patience: Be patient; it takes a minute or so to heat up and start the brewing process. You’ll hear a pump kick in and then see the water come through.
Understanding the Farberware Espresso Machine
Before we dive into the details, let’s familiarize ourselves with the key features of the Farberware Espresso Machine.
20-Bar Pressure: This machine boasts a powerful 20-bar pump, which is essential for extracting the full flavor from your coffee grounds.
1.5-litre Capacity: The 1.5-litre water reservoir ensures you can make several cups of espresso or espresso-based drinks in one go.
Accessories: The Farberware Espresso Machine comes with essential accessories, including a portafilter, single and double shot filters, a tamper, and a scoop.
Simple Controls: The control panel includes a steam button, double shot, single shot, and on/off buttons, making it user-friendly for beginners
Step-by-Step Guide to Using the Farberware Espresso Machine
It’s crucial to follow the manufacturer’s instructions and safety guidelines provided in the user manual.
Step 1: Preparing the Machine
Plug in your Farberware Espresso Machine and turn it on. Allow it to warm up, which may take a few minutes.
Step 2: Choosing the Right Coffee
Use finely ground espresso coffee beans. Dark roast beans are recommended for the best flavor.
Step 3: Loading the Portafilter
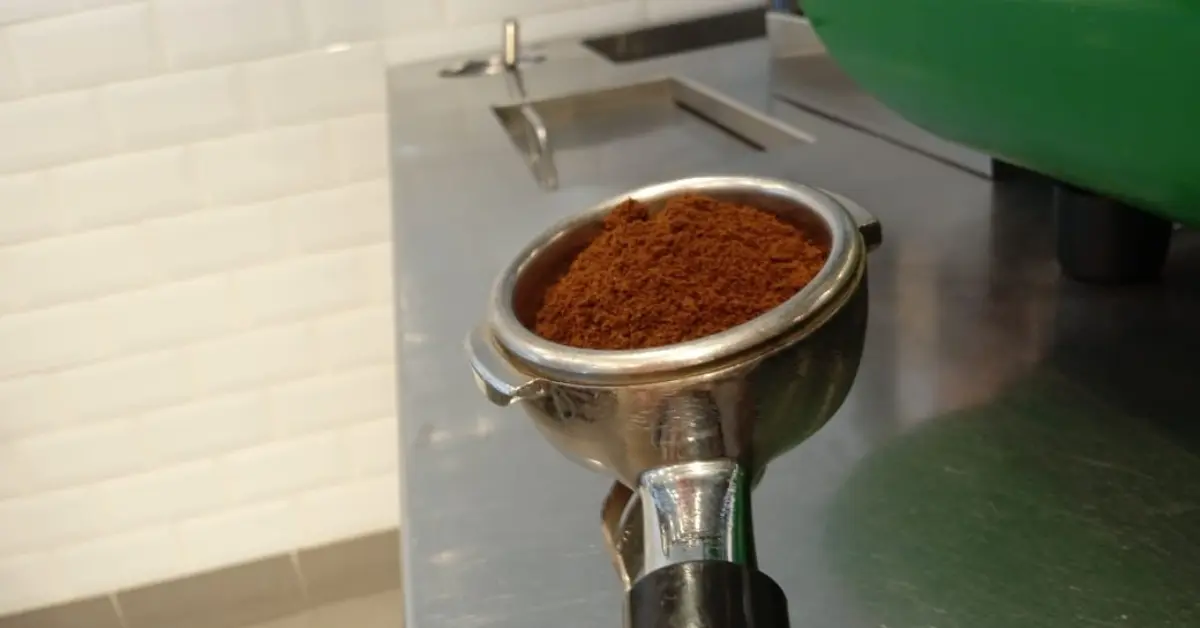
- Place the single or double-shot filter into the portafilter.
- Add the finely ground coffee into the filter. Make sure not to overfill it.
- Use the tamper to evenly distribute and press down the coffee grounds firmly.
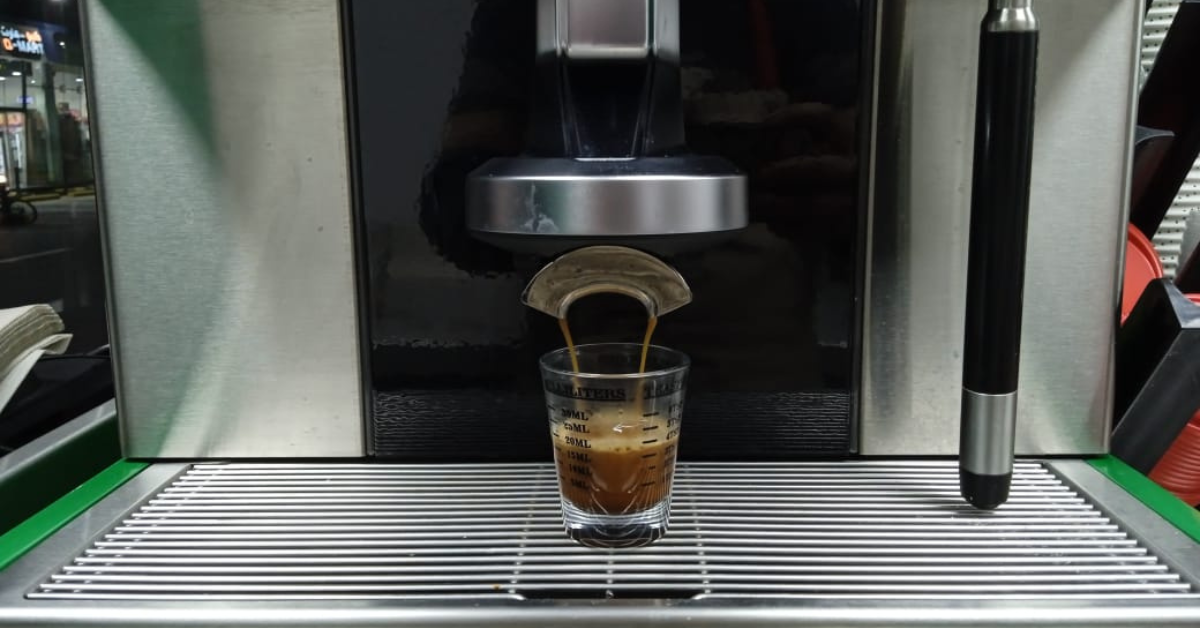
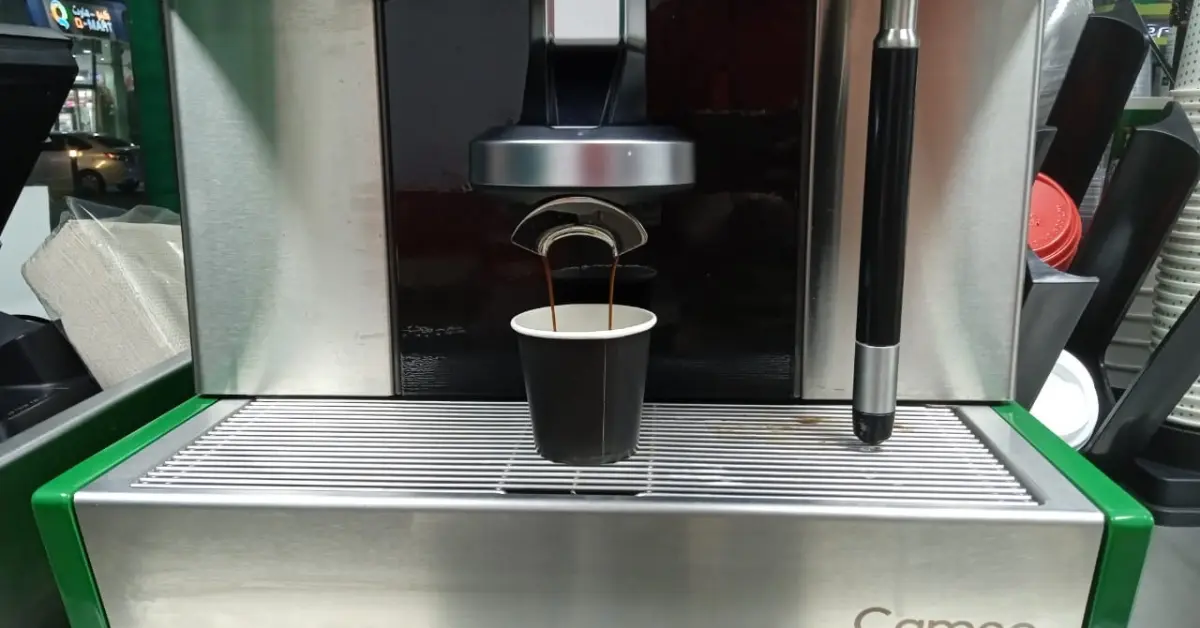
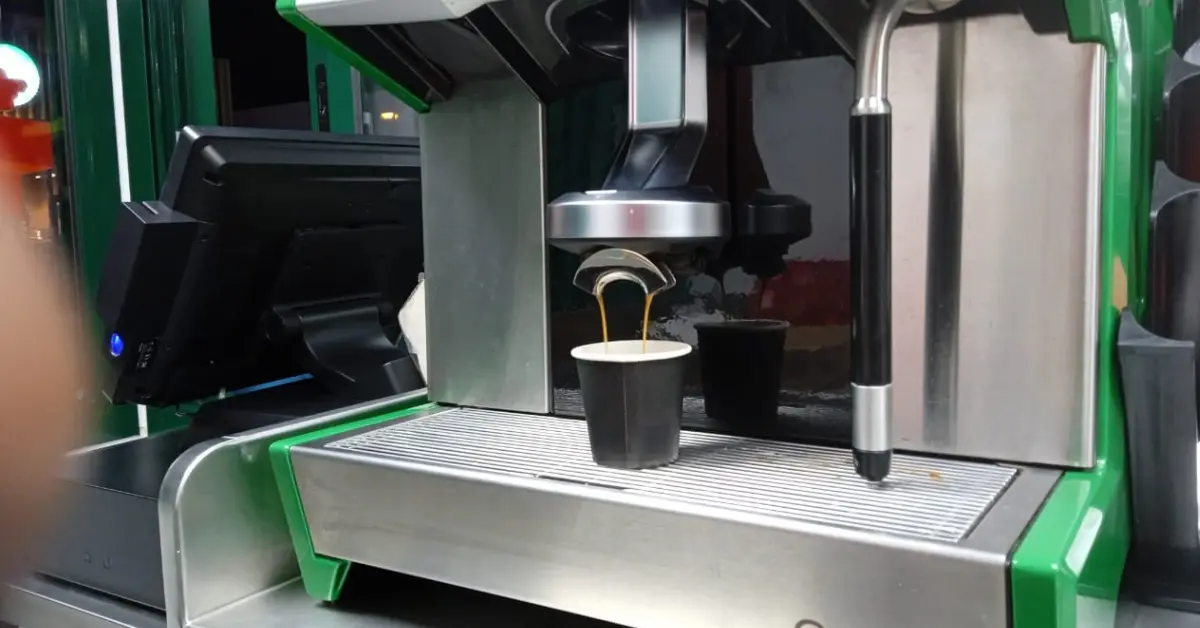
Step 4: Brewing Espresso
- Insert the portafilter into the machine and lock it into place. Be careful, as it can require some force to secure it properly.
- Position your cup under the portafilter.
- Select your desired shot size (single or double) and start the brewing process.
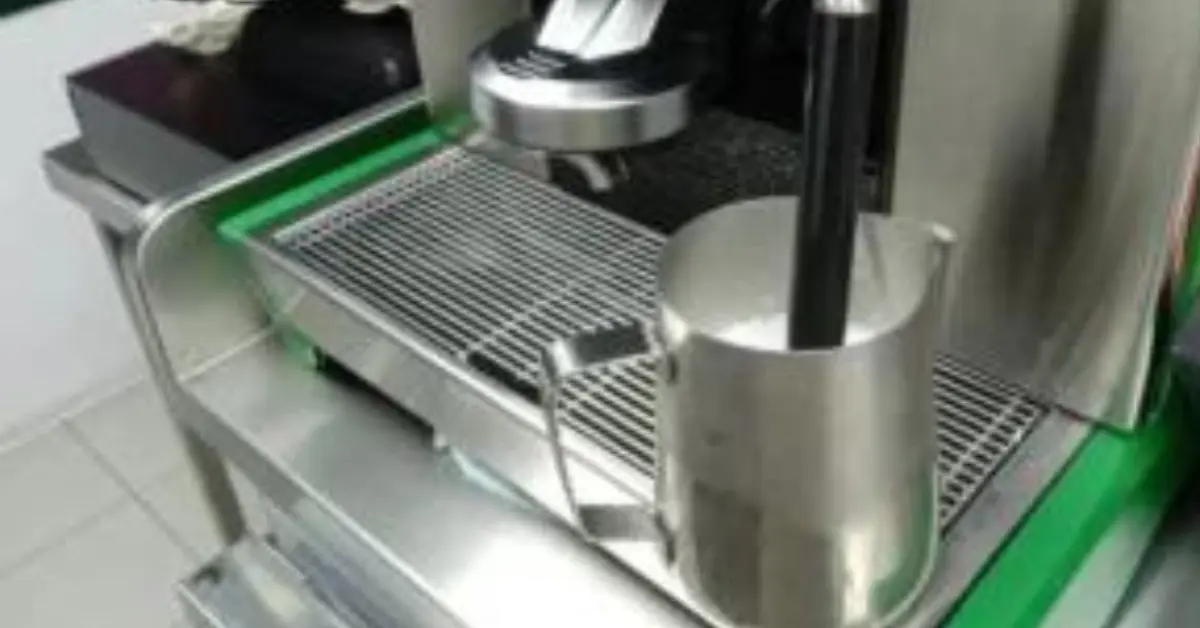
Step 5: Frothing Milk
- Prepare your milk in a separate container.
- Turn on the steam function and use the steam wand to froth the milk. Adjust the frothing wand’s position for the desired level of froth and heat.
Step 6: Mixing Your Espresso Drink
Once you’ve brewed your espresso shot, mix it with the frothed milk. You can create your favourite espresso-based drinks, such as lattes or cappuccinos.

Step 7: Cleaning and Maintenance
- After each use, clean the drip tray and water reservoir. Be cautious, as these parts can be hot.
- Periodically clean the machine’s interior and the portafilter to ensure optimal performance.
Conclusion
Mastering the Farberware Coffee Maker and Espresso Machine is not as challenging as it may seem. With a little practice, you can become your own barista and craft delicious coffee and espresso-based beverages. All these you can do directly from the comfort of your home. These appliances offer user-friendly controls and impressive features, making them. I hope we answered the query you were looking for about how to use the Farberware coffee maker.

I am Mojoon, a certified and award-winning barista by choice, with 7 years of experience in the field. I have served and trained coffee shop baristas worldwide. I worked at Krispy Kreme for an extended period, and now I aim to help regular people brew coffee like me. I pursue this job with my passion for writing and also provide one-on-one coaching for newly minted baristas.